Saan Lumipat ang TikTok Shop Affiliate Tools? Seller Center Navigation Map para sa Creator Teams
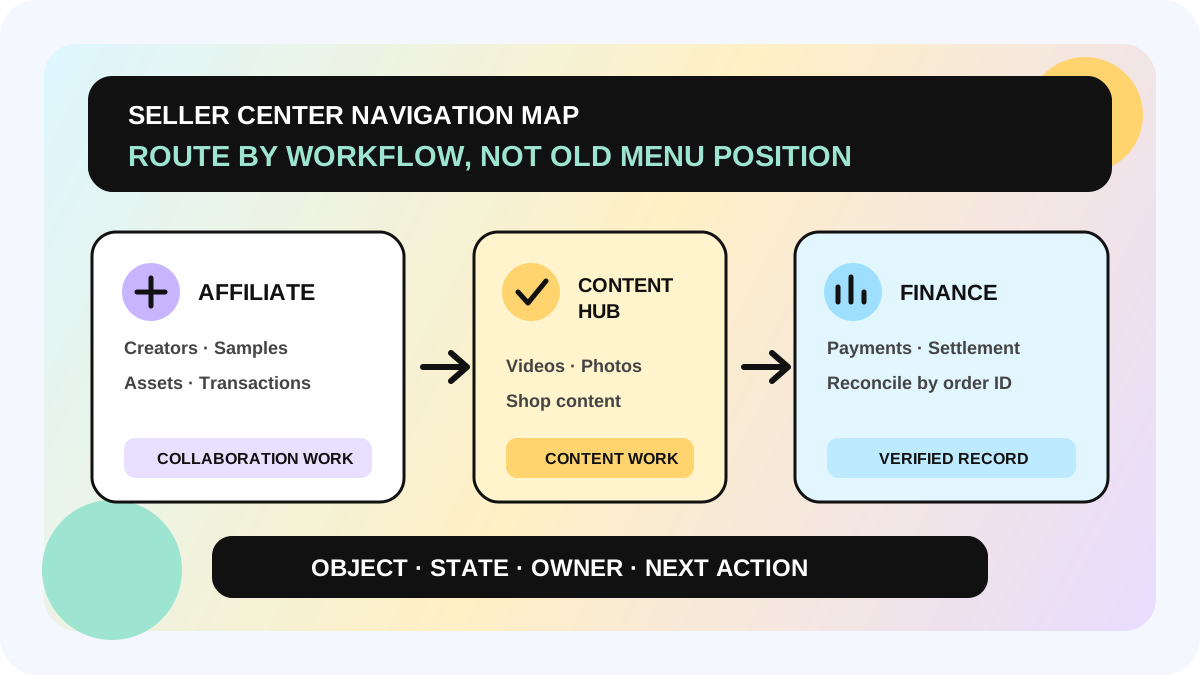
Kapag biglang nag-iba ang left menu ng TikTok Shop Seller Center, huwag agad isipin na tinanggal ang feature. Sa US navigation update, inayos ang tools ayon sa actual workflow: creator discovery at collaboration, samples, creator assets, at affiliate transactions ay nasa Affiliate; ang videos, photos, at iba pang shop content ay nasa Content hub. Ayon sa TikTok, menu location at grouping ang nagbago—hindi ang existing access o permission ng account.
Para ito sa TikTok Shop sellers at sa BD, sample, content, at finance teams na humahawak ng creators. Ang official guide ay para sa eligible US-local sellers at phased rollout ang setup. Puwedeng magkaiba ang market, eligibility, role, permission, label, at UI version. Kapag hindi tugma ang screenshot, sundin ang live account at huwag manghula ng route.
Diretsong sagot: saan magsisimula ang bawat task
| Task | Top-level entry | Kailangan pang i-verify |
|---|---|---|
| Maghanap ng creator, mag-send ng invite, mag-manage ng collaboration | Affiliate | Actual Find Creators, Collaboration, o Manage Creators view |
| Mag-approve o mag-track ng sample | Affiliate | Product, creator, sample status, at next owner |
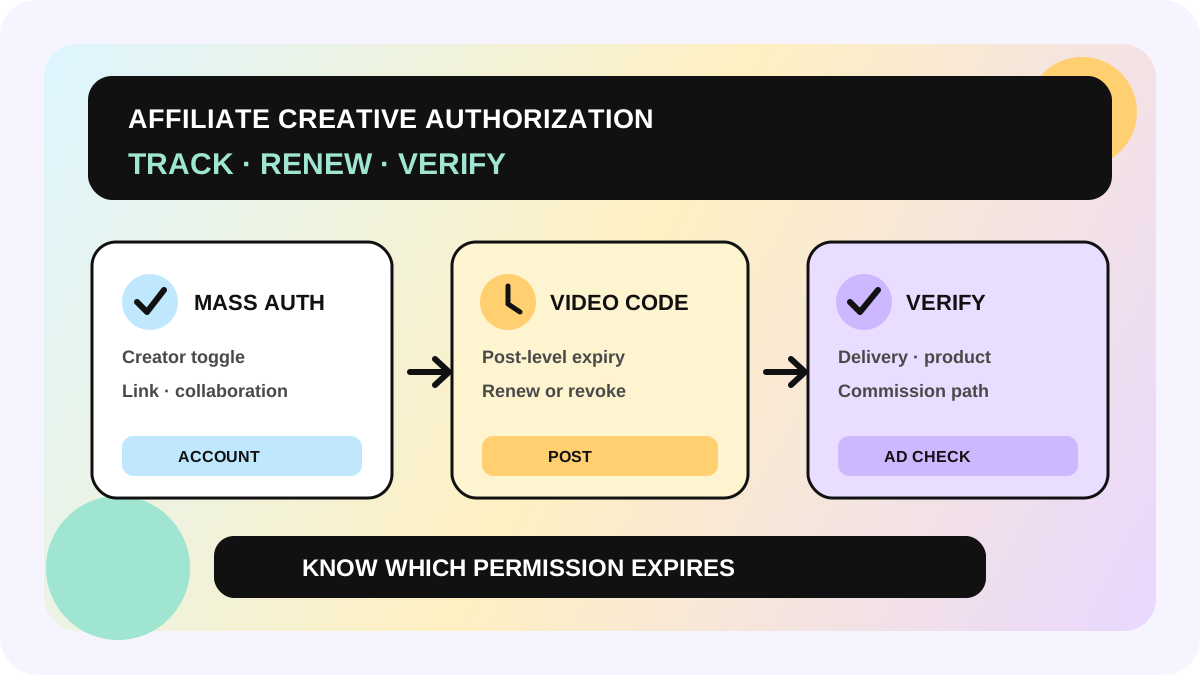
| Tingnan ang creator-made assets | Affiliate | Source, linked product, authorization, at expiry |
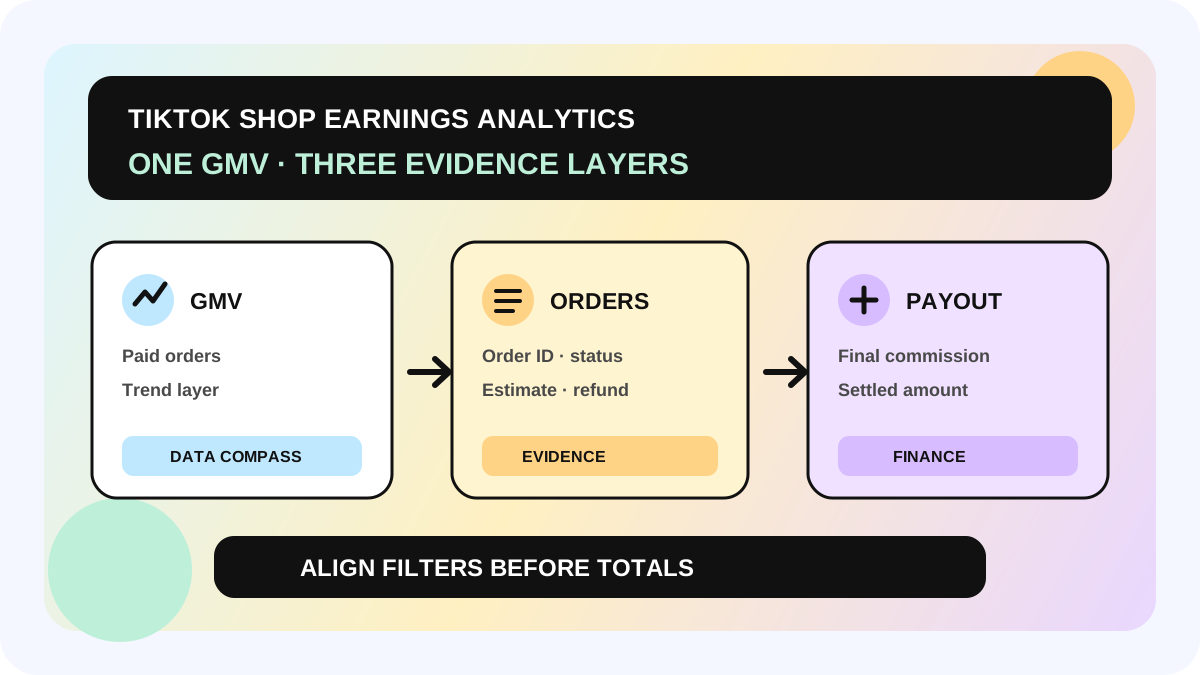
| Mag-reconcile ng affiliate orders/transactions | Affiliate | Order, commission, refund, at settlement basis |
| Mag-manage ng shop videos, photos, at content | Content hub | Publish status, product link, at ads eligibility |
| Tingnan ang shop-wide performance | Analytics | Huwag ipalit ang shop total sa creator/order evidence |
| Tingnan ang payments at settlements | Finance | Itugma sa Affiliate gamit ang order ID |
Madaling pagpalitin ang Affiliate at Content hub. Ang Affiliate ay tungkol sa pakikipag-collaborate sa creator at sa transactions na galing rito. Ang Content hub ay tungkol sa paggawa at pag-manage ng shop content. Puwedeng dumaan ang isang creator video sa parehong workflow, pero magkaiba pa rin ang collaboration status, content status, ads authorization, at settlement status.
Ano ang nagbago—at ano ang hindi
Sa notice noong September 18, 2026, sinabi ng TikTok Shop na nagsimula ang rollout noong September 10 para sa eligible US-local sellers at target ang broad availability sa late September. Ang top-level menu ay nagbubukas na ng landing page: Affiliate overview para sa Affiliate at Content hub overview para sa Content hub. Kasabay nito, lumalabas ang submenu sa kaliwa.
Hindi dapat magbago ang dati nang access at permission. May old bookmarks na gagana pa, pero may iba na puwedeng mapunta sa maling page. Ang recommendation ng TikTok: hanapin ulit ang tool sa bagong left navigation at mag-save ng bagong bookmark. Para sa permission error, broken page, o missing tool, gamitin ang Seller Center Help Center at ilagay ang account details, screenshot, at dating feature name.
Kaya hindi sapat ang SOP na “i-click ang ikatlong menu.” Dapat kasama ang business intent, object ID, current state, evidence, owner, at next action. Puwedeng magbago ang menu order nang hindi nawawala ang handoff.
Limang hakbang para i-migrate ang lumang SOP
1. I-check muna ang account, market, at permission
I-record ang shop, market, current member role, check date, at visible menus. Maaaring magkaiba ang nakikita ng shop owner, Affiliate Manager, at general team member. Hindi proof ng feature removal ang missing entry. Magpa-verify muna sa authorized member bago sabihing rollout, eligibility, o permission issue.
2. Mag-route ayon sa trabaho, hindi sa lumang label
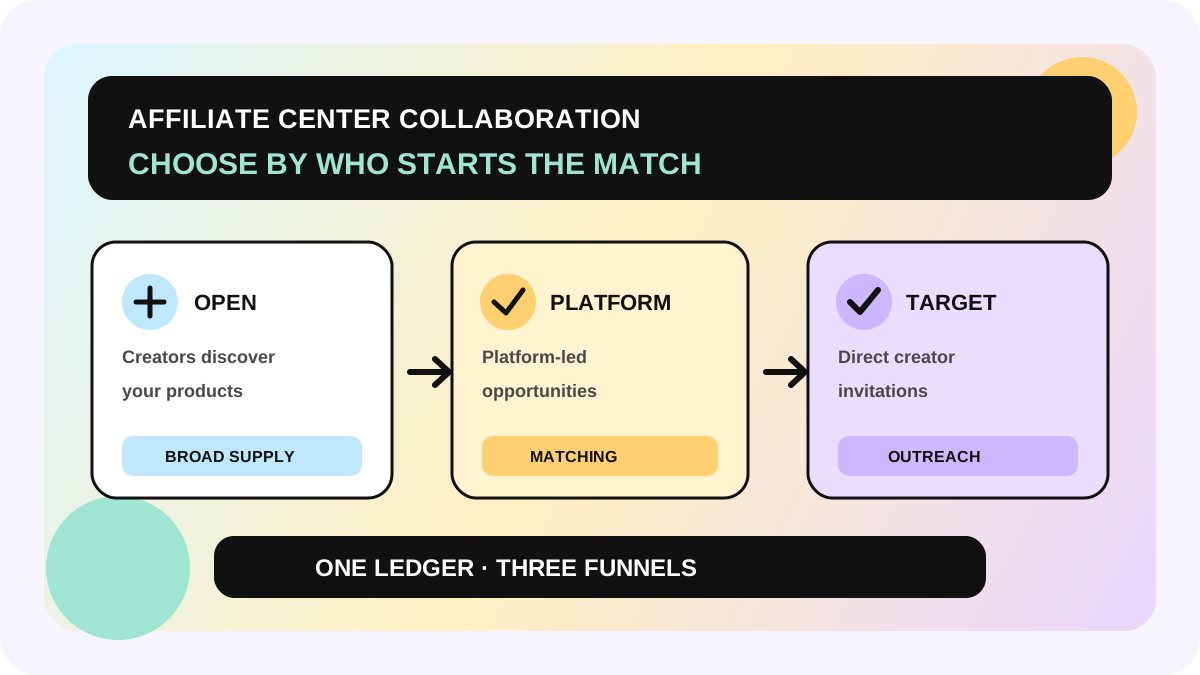
Magsimula sa Affiliate para sa creators, samples, creator assets, o affiliate transactions. Content hub para sa shop-owned videos at photos. Analytics para sa shop-wide reporting, at Finance para sa payments at settlements. Kung pipili sa Open, Platform Campaigns, at Target, sundan ang Collaboration entry guide.
3. Huwag tumigil sa overview
Entry lang ang Affiliate overview, hindi completed task. Pumasok sa live Find Creators, Collaboration, Manage Creators, Samples, Creator Assets, o transaction view at i-verify ang object. Ayon sa Manage Creators guide, puwede nitong ipakita ang 90-day performance, tags, at collaboration context. Kapag tinanggal ang creator sa page na iyon, hindi awtomatikong matatapos ang active collaboration.
4. Panatilihin ang context sa iisang migration ledger
Para sa bawat SOP, ilagay ang old entry, new entry, business object, old bookmark, current URL, required role, last verified time, owner, at failure route. Sa samples, hiwalay ang request, approval, shipping, at content status. Sa assets, hiwalay ang source, product, authorization, at expiry. Sa transactions, kailangan ang order ID, commission, refund, at settlement.
I-connect ang creator performance sa affiliate GMV review guide at gamitin ang creator inbox handoff workflow para sa message ownership. Hindi final evidence ang isang summary card sa overview.
5. Mag-replay ng totoong low-risk task
Gumamit ng existing objects: hanapin ang isang known creator, buksan ang existing collaboration, i-check ang isang sample record, tingnan ang isang creator asset, at i-reconcile ang isang affiliate transaction gamit ang order ID. Hindi sapat na nakita ang page o button. Dapat verified ang object, state, evidence, at next action.
Minimum migration checklist
- shop, market, user role, at UI checked at;
- business intent at bagong top-level entry;
- exact workspace at object ID;
- gumagana pa ba ang old bookmark;
- current state, evidence, at next action;
- owner, backup owner, at review date;
- feedback record para sa permission error o missing entry.
Unahin ang daily SOPs, external actions, at paths na may epekto sa commission o settlement. Puwedeng sumunod ang low-frequency docs. Ang high-risk path ay dapat ma-replay sa current account bago i-retire ang lumang instruction.
Saan ito fit at saan hindi
Fit ito sa teams na hati-hati ang creator collaboration, samples, assets, at transaction work. Useful din sa teams na nakadepende sa browser bookmarks, training screenshots, o automation instructions. Para sa one-person shop, puwedeng apat na column lang: entry, object, state, at next action.
Hindi nito pinapalitan ang platform eligibility, member permission, order detail, o settlement record. Hindi rin nito pinapatunayan na pareho ang navigation sa lahat ng market. US-local sellers lang ang scope ng official notice. Kung walang market data, i-record ang gap sa halip na mag-imbento ng rollout date. Sa access, commission, o settlement dispute, sundin ang live account at applicable official guide.
Pananaw ng allymatic: entry ang navigation, pero asset ang cross-team state
Kapag nagbago ang menu, lumalabas kung nasa personal memory, old screenshot, at bookmark lang ang operating knowledge. Iminumungkahi ng allymatic na gawing workflow spine ang creator ID, product ID, sample/order ID, at owner. Magsimula man sa Affiliate, Content hub, o Finance, dapat makita ng team ang previous evidence at next accountable action sa parehong object.
Sa loob ng isang araw: ilista ang 10 pinaka-ginagamit na SOP, i-map ang bawat isa sa bagong entry at exact workspace, at i-replay ang tatlo end to end. Kung nandoon ang feature pero napuputol ang handoff, ayusin muna ang state at owner bago gumawa ng dagdag na training screenshots.
FAQ
Tinanggal ba ang Affiliate Center?
Hindi. Nananatiling top-level entry ang Affiliate at nagbubukas ito ng Affiliate overview. Ang regrouping ay hindi feature removal.
Bakit nakikita ng teammate ko ang entry pero hindi ko makita?
I-check ang market, account eligibility, rollout, at member permission. Phased ang rollout at may epekto ang role sa view/edit access.
Sa Affiliate ba o Content hub ang Creator Assets?
Inilagay ng official navigation table ang “view creator assets” sa Affiliate. Ang paggawa at pag-manage ng shop videos, photos, at content ay sa Content hub. Bago gamitin ang asset, i-verify pa rin ang source, product link, authorization scope, at expiry.
Gagana pa ba ang old bookmarks?
May iba na oo, may iba na mapupunta sa maling page. Hanapin muna ang feature sa bagong left navigation, mag-verify ng isang real task, at saka i-save ang new bookmark.
Opisyal na sources
Opisyal na sources
Mga pangunahing opisyal na reference na ginamit sa artikulong ito.